Showing posts with label How to. Show all posts

Thursday, December 17, 2020

GET A FREE R40 CELL C AIRTIME | SA ONLY

This post will be short and simple. So make sure that you share it with your friends and family members. To do this you'll need to have an app called Mjam installed into your phone. Don't search for it. Just click the name M4jam here to ensure that you find the right app. Note that this offer is only for a limited amount of time.

Procedure:

  1. Before taking the job you should ensure that you have at least R5 airtime on your Cell C sim card.
  2. Next, click the word M4jam anywhere in this post.
  3. You would be redirected to Google Play Store.
  4. Install the M4jam app.
  5. Register on M4jam.
  6. Enable your phone location.
  7. Click earn.
  8. A R40 cell C job should appear (The job is all about downloading and taking the screenshot of the cell c app)


  9. Download the Cell C app first and open it.
  10. Take a screenshot while inside the Cell C app. Make sure that the screenshot shows both your Cell C number and your airtime balance.
  11. Go back to M4jam.
  12. Click on start on the R40 Cell C job. From there you'll follow the simple steps and earn yourself a R40 Cell C airtime. It's easy as that.

Saturday, November 28, 2020

WHAT ARE VPN'S USED FOR?

Your privacy matters! | Random Apps


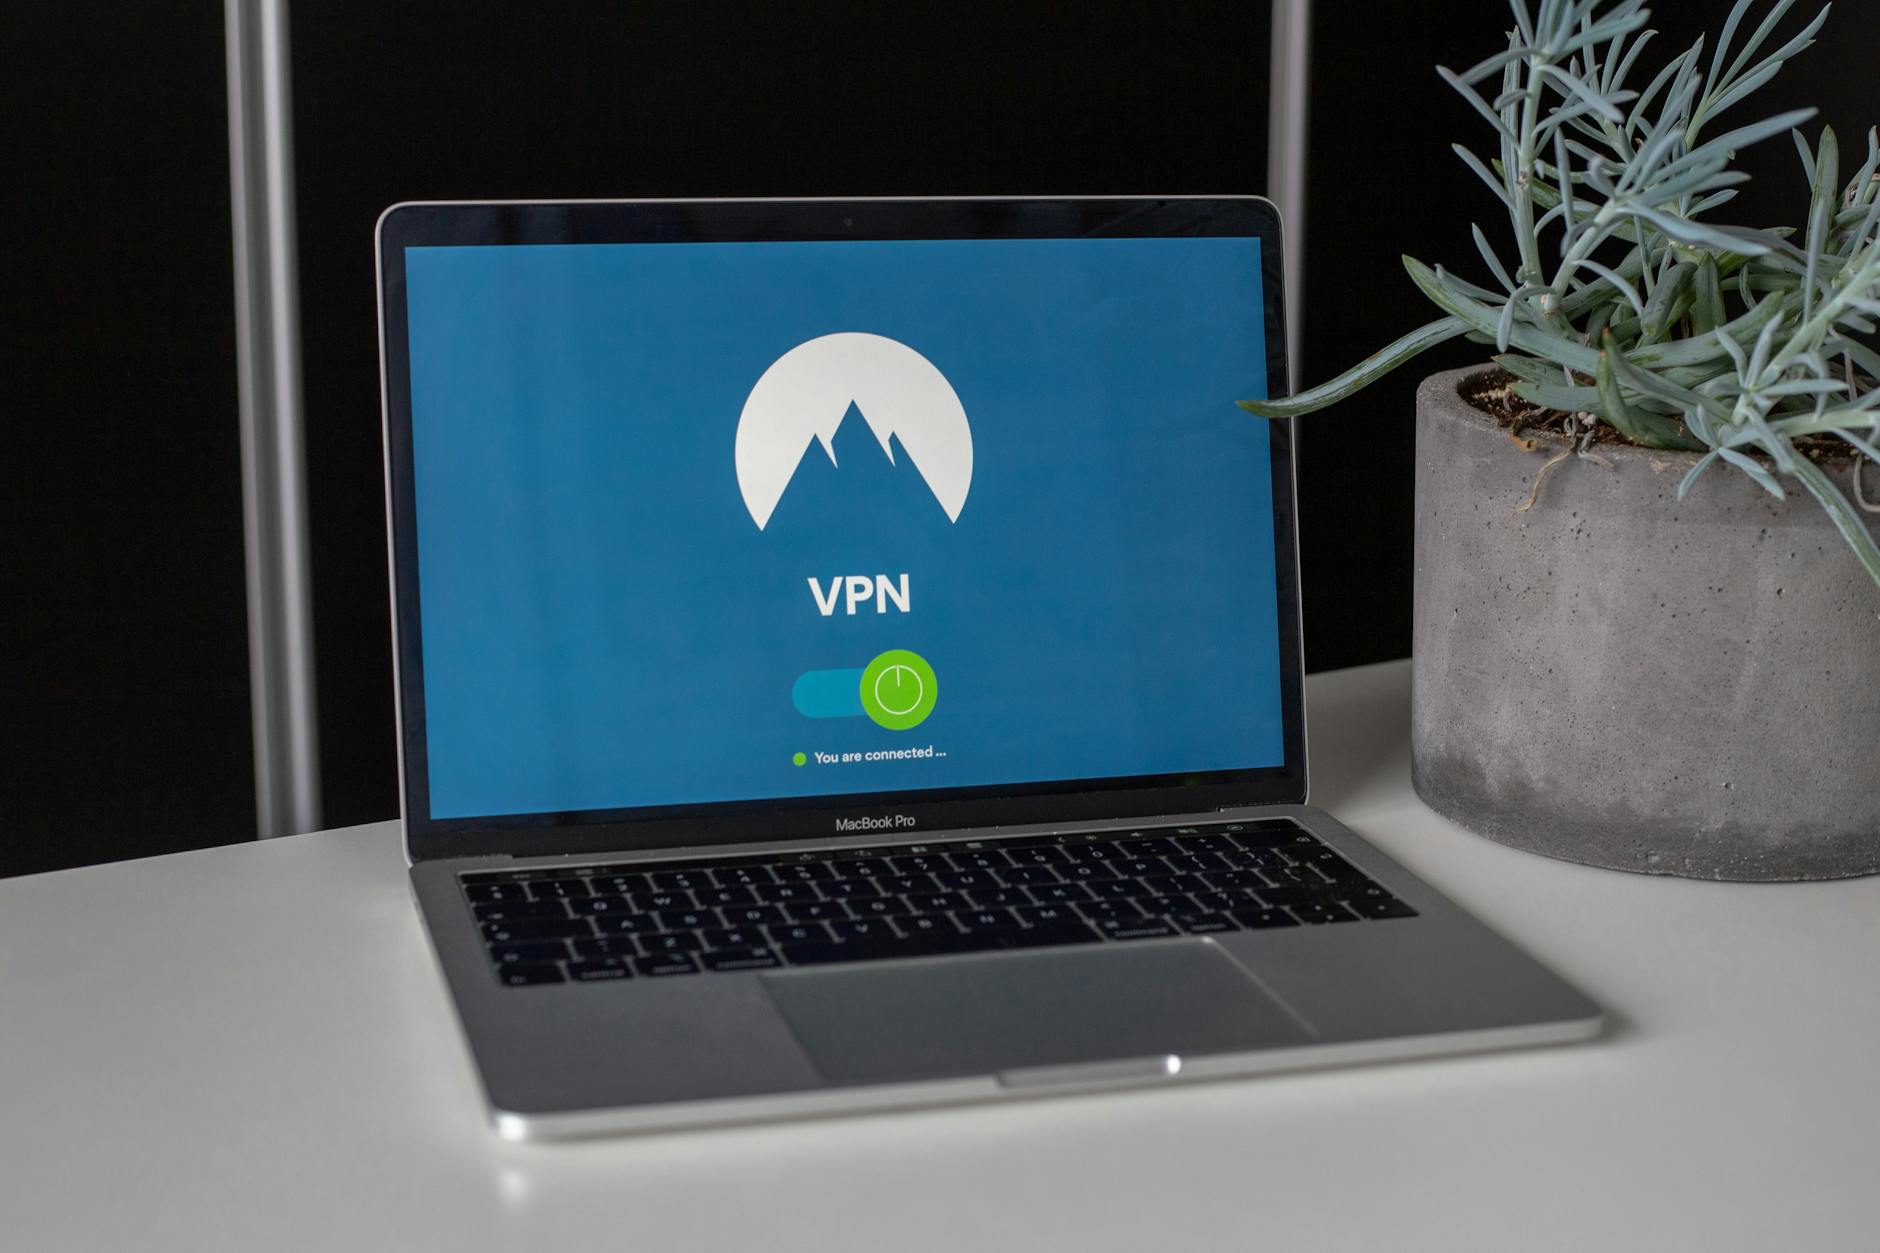
Photo by Pixabay from Pexels


VPN is an acronym that stands for Virtual Private Network. A VPN is basically a virtual private network that enables you to send or receive shared data to other private or public networks while using a public network as if you are on a private network. This in all means that a VPN covers your true identity.

Using a VPN comes will a lot of different benefits. When using a VPN, your location is kept anonymous. Meaning that no one will know your exact location depending on the VPN accuracy. The only location people will know of, is the location of the server you are connected to on a VPN.

Secondly, a VPN helps to prevent unauthorized data collection from public networks some public network mostly collect connected user data without permission. With a VPN, they'll definitely collect the wrong information.

To stay safe and away from hackers, for both the safety of your device and your personal information. I recommend that you try out one of the VPN service apps I listed below. They have the best service and great accuracy. Plus they have been trusted and used by big companies around the world. Not to also mention that they are affordable and easy to use.


1. Nord VPN


Nord VPN is one of the world's biggest and trusted VPN services sp far. Many companies and people around the world use Nord VPN to give them their freedom of privacy.

Nord VPN is available on many platforms including Android, IOS, Windows, Linux, etc. The VPN service provider has had good reviews from people around the world including myself. Try it out and you'll see.

2. Kaspersky Secure Connection


Kaspersky Secure Connection is a VPN service created by the Kasperky company that mainly focuses on building apps to protect you and your device from internet threats. One of their apps includes the Kaspersky Office to protect all your business devices from viruses and hackers, Kaspersky Home security to protect all devices you have at home from internet threats. I believe that Kaspersky is an expert at protecting devices. I myself have purchased the Kaspersky Home Security for both my smartphone and my laptop. I have encountered nothing but the perfection of the platform. Back to the VPN app. 

The app has an affordable pay as you use platform with a price of $1.70-$2 a month. Don't get me wrong. With Kaspersky Secure Connection you only pay for that month you are using the app. There's also a free version, but it's capped at 300MB.

Monday, November 9, 2020

HOW TO GET MORE USERS ON YOUR BLOG, CHANNELS, GROUPS, ETC?


Introduction

Getting as many users in your blog, YouTube channel, or group is not as easy as someone might think. Today, what you are about to read will not only be about how to get more users, but it will also be about how to make people visit your platform again and again. Follow the rules I am about to give you and you'll be on your way to getting as many people to your blog as you want.


How to get many people into your channel?

Inviting as many people to your platform is as easy as ABC. Remember that inviting users is different from getting users. Inviting users is all about introducing people to your content. All it takes is creating a catchy title for your content and spreading it to other groups and channels. Take note though, that your content title must not be misleading. You will read about that later, it's just a few sentences ahead. Moving on we have google trends.


Google Trends


Google trends is a platform by Google that records the most search online topics daily, weekly, or monthly. This helps developers or content creators like you find the most searched and focused on topics by people around the world. Using this platform helps you get as many daily users as possible.
Now that you wrote a catchy title for your content and used google trends, how do you get people to come back again and again?


How do you get people to stay?

It is almost obvious that, when you wrote something with a catchy title, many people will click it. But, what about next time, do you always have to go look for people again and again? Well, to that I'll say "NO". When people have seen that your content title matches what they found about your content. They will keep on wanting more of your content. As long as your content is not mixed up (If it's about cars, only post things related to cars), relevant, not exaggerated, not clickbait. The most common thing people hate is exaggerated content. That is not any different from promising people that you'll give them $200 each if they subscribe to your content, knowing that you don't have that $200.


Boring?

Avoid posting long, meaningless, and off-topic content. Understanding that many content readers do not like to read. Writing long and meaningless content creates frustration for the reader. Then that's when he/she won't come back. Make sure that your content has an order. Create headings, subtitles, and bold words to make emphasis important and catchy words.


Summary

Remember to not lose focus. Don't mislead your users, post something relevant, do not mix your post (Organise your posts). Remember that posting something irrelevant to your channel, blog or group will not help you gain users, but it may lead to some users leaving your platform since they may not be in favor of that content. Growing an online or offline platform was never easy, even for the biggest companies in the world. Don't rush things (Post about your blog, channel, and group often in the same groups). Posting your content on other groups often may lead to some users getting annoyed by your content or even banning you from the group. Nothing starts big, you have to start somewhere. Never hold on to that though. By that I mean do not feel comfortable being low. Work hard and you shall achieve your desired goal. Me

Sunday, July 26, 2020

HOW TO USE WIFI-HOSTPOT CONNECTION IN HTTP INJECTOR?

HTTP injector guide | Random Apps


To use the wifi hotspot connection in the HTTP injector you need to have the HTTP injector app on the device you want to connect to and turn on the wifi hotspot. Then open the HTTP injector app on that device, and run it (Start connection). 


After the connection has been successful, click tools


Scroll down and click  Tethering Tools. Remember that we are doing all of this on the device you want to connect to, not the one you want to connect with.


After clicking Tethering Tools three options will appear: Host share, Tethering connection, and Tethering unlock. Click the first option, which is the Host share.


 Scroll down and click Start Host share. Make sure that the button above Start Host share is written Stop wifi connection. 


After clicking start host share scroll up and some details will appear. Those are the Password, IP address, and port number. We are done setting things up for the host. Let's set things up for the connecting device.


On the device you want to connect with, open Wi-Fi settings or long-press the Wi-Fi on your scroll bar. 

Then long-press the device you want to connect to. 


Click manage network settings, show advanced options, set proxy to manual. On proxy name put the IP address: 192.168.43.1, on proxy port put: 44355 and click save


HTTP injector original guide

Friday, July 17, 2020

HOW TO POST A LINK IN A TELEGRAM GROUP CHAT? | WITHOUT BOTS REMOVING IT

“For Educational Purposes Only”

"I mean it"


Have you ever had a hard time trying to promote your website or YouTube channel in a telegram group? But the problem is, every time you post a link it gets deleted automatically by a bot.

At these times you end up asking yourself a question: "Where do they think I'm gonna get my views/subscribers?". No answer came through. Because you are thinking that to yourself.

Well here's the answer. To post a link in a telegram group that has a link removing bot, you have to unlink the link. Sounds crazy, right? Create spaces after every dot of the link. Then from there, the bot won't notice it's a link. Only users will. And those interested in what's in the link will link the unlinked link. And there you have it. Although this might be risky if the group admin sees it. 

You might end up getting kicked out of the group or get blocked from posting by Telegram. To avoid the two things make sure that you talk to the group admin, asking him/her to support your blog or channel. If your group admin buys that, then you are good and safe to go. I mostly recommend that,.

Thursday, July 16, 2020

THE BEST WAYS OF TAKING A SCREENSHOT IN 2020 FOR WINDOWS

1. Using the CTRL and PRT SC

The first way of taking a screenshot is by using the "ctrl" and "prt sc" buttons. Every Windows has them. Here's where you would find them:


Note that there are two ctrl buttons. You should use only one of them. Well then, let's move to the first step of this.
  • Go to the screen you want to take a screenshot of
  • Press the Ctrl button, don't let go of it
  • Click the prt sc button
  • Open the Paint application on your windows

  • Click the paste icon or right-click and paste
  • After pasting click the file and save you screenshot

2. Using an external app

There's also a method you can use that includes using an external app. I recommend it a lot to you. Due to the fact it provides you with more tools like cropping, drawing, etc. This application is called ice cream screen recorder, it comes with the screenshot application. The screenshot app is free and it's also watermark-free.

Ice Cream Screenshot

If you want to take your screenshots in a more advanced and fast way I think you should consider installing this app into your device. Ice cream screenshot features include: putting a watermark into your screenshot, writing on your screenshot, hiding some information in your screenshot, and many more.

Do not worry about paying anything. The Ice cream screenshot app does not require you to pay anything when using the screenshot app. Also, there are no watermarks they'll put into your screenshot. That makes things better. Heewww!😅 Below I have posted a picture of what the app looks like:


Ice Cream Screenshot: Source (URL: https://icecreamapps.com/; Access Date: 16/07/2020)

Wednesday, July 15, 2020

HOW TO GET A FREE DOMAIN FOR YOUR WEBSITE | BLOG?


Start 🎮

 Today we will be working on how can you get yourself a free domain for your blog/website. We will be using blogger for today as our blog platform. Get your things ready and let's go for a ride. Not the real ride though. Sometimes I don't get why people always say let's go for a ride when there's no ride. It makes no sense. Enough with this. Sorry for wasting your time. I do that a lot. Let's get to how you should start by getting a domain.

Procedure:

  • The first thing you'll have to do is to go to your Blogger website and sign in if you were not yet signed in.
  • Click Settings:
  • Scroll down to publishing and click custom domain:

Getting a free domain name


So what we need now is a domain name. Mmmmm??? This calls for some new work to be done. To get a free domain name we will have to visit a website named "Freenom". Well, no worries. Let's create some new steps to follow. 
  • First, you'll need to visit Freenom.
  • If you are new to Freenom, sign up or sign in if you have already signed up before.
  • Click "services":
  • Click "register a new domain":
  • Enter the domain name of your choice, if it is not available that means someone else has it. Try making it a little different. Then click get it now:
  • You'll see a list of free available domain names in blue. Click get it now on any domain name you like. If you feel like you want to know what each domain level mean for example .cf/.ml/.tk/.CG information is available on Google search:
  • The next step from now is to click checkout. Make sure that you selected only one domain.
  • Click the period drop-down menu and set the period to 12 months free.
  • Click the continue button.
  • Agree to the terms and conditions (Make sure that you first read them) and click complete order.
  • Click the go to your client area button.
You may think we are done but, not yet. The next thing we have to do is to connect our domain to our blog, else it won't work.

Connecting domain name to our blog

  • Click services.
  • This time click my domains
  • Your domain name should appear if it doesn't appear. There's something wrong you did.
  • Click manage domain.
  • Click Manage Freenom DNS

  • Go back to blogger from where we left off, on a custom domain. Enter your domain name and make sure that you start will "www" or you'll get an error. After that, the following will appear:
  • Go back to Freenom, where you left of, add 5 records, and change the first two A's to CNAME
  • Go back to blogger, copy the name of a CNAME and its destination. Paste them in Freenom. Make sure that you set their type to CNAME in Freenom
  • You Freenom records should look like this:

  • Click save changes. Your page should then have 6 record successful labels. Then head to blogger and click save. This could take up to 5 minutes to respond depending on the time Freenom will take to connect your domain to your blog. After saving is successful you are good to go. 


Tuesday, July 14, 2020

HOW TO PUT ADS INTO YOUR BLOG | SIMPLIFIED, "I mean it"

AdSense | Blogger Edition


Many of us create blogs expecting to earn money from them. While some create them just for fun. That's not the point though. Today we will be looking and discovering the how question and the do you question. Well, the first question will be how to put ads into your blog? To put ads into your blog you need to first qualify for AdSense. If you don't qualify then you won't be able to put Google AdSense ads into your blog. To see if you qualify click earnings on your blogger and this will appear:


From the image, it shows that I do not qualify for AdSense. Because I haven't met the threshold views. If yours is like this too. Don't waste your time looking for videos on how to put Google AdSense ads on your blog, unless that blog is not created by Blogger.

I believe that you might have the answer to the second question. Do you need a domain to put ads into your blog? The answer is no! Domains are just there to make your bog fancy. Your audience is the only thing that defines your eligibility for AdSense. Just as your subscribers define your eligibility for YouTube ads. What AdSense is looking for is a blog with an adequate amount of traffic, not 5 views per day.

AdSense is also looking for a blog with content that organized. Make sure that you have checked your spelling of words and do not mix your content. From my point of view, 100+ views per day are fine. As long as your content has order and good spelling of words.

Below is a video that will give you a visual of how this works and from there I believe that you will have a way forward to how you can put ads into your blog.


Video:


Summary:

  • Create an ordered content
  • A minimum of 100 views per day is enough to qualify for AdSense
  • Check your spelling and grammar (It doesn't have to be perfect but at least clear)

Wednesday, June 24, 2020

PUT ADS INTO YOUR APP INVENTOR CREATED APP | KODULAR,THUNKABLE OR APPYBUILDER

“For Educational Purposes Only”

   "I mean it"


Showing ads in your app is somehow the only reason why some people even create apps in the first place. Well, we know that with ads there's money, and with money, there's .... Never mind that. Below is a video that will take you through putting ads into an app without having to send verification. Make sure that you read and follow the policies, terms, and conditions of each website we will be using as this might lead to your account being deleted if not followed.

Video:


Description: 

As you might know that many people use Enhance to create offer walls for their Kodular, Thunkable, and Appybuilder apps. For now, we have used Enhance for a different reason. That is, putting ads into your app without having to request for verification.

Enhance link: https://enhance.co

Again, please follow Kodular and Enhance's rules to keep your developer accounts safe. Showing ads into your app is not the only way to earn money online. There are loads of other ways, like promoting other brands in your app, integrating the Tapjoy offer wall, amazon affiliates, etc.


Friday, June 19, 2020

HOW TO DOWNLOAD FACEBOOK VIDEOS?

“For Educational Purposes Only”

"I mean it"


Ever wondered which way can you use to download your favorite Facebook videos to your device? You're lucky for that wondering ends now, not really. There's are still a lot of wonders you're gonna have in life. Follow the guide below and you'll know how to download any video you like on Facebook.

Procedure:

To download a Facebook video you'll have to do some editing to the Facebook page URL that has the video you want. Trust me, the words might make this sound fancy and promising something hard to do, but this is the easiest thing anyone can do. Well, anyone with a smartphone/ desktop or just a phone. We will use the image below in figure 1 as a reference for our step by step process.

Each color on the image represents a different component. Please follow the colors to be on the right track as we explain this to you.

Key:

🟦- Video

🟥- Page URL

🟩- Page


Figure 1
Figure 1


Before you begin make sure that you are on the page where the video you want to download on Facebook is located. If not, try to find the video page by clicking on the video you want to download. If you are doing this while, not on the video page, the video might end up disappearing. Do you want that to happen? Ok then, let go!

Click the page URL on your browser's search bar twice. Make sure that you don't activate the blue mark for copying and pasting. We only want to add something to the page URL. If you got lost on what a page is, please refer back to the colors and the image. Now let's proceed. Shall we?

The page link might start like this: (m.facebook.com/) or (www.facebook.com/). If your link starts with m.facebook.com/after "m" put "basic". Else if your link starts with www.facebook.com/, try replacing "www" with "m". The after "m" put basic. Then the link will look like this: mbasic.facebook.com/. Click enter if you are using a desktop or a pc, click Go if you are using a phone (Smartphone, Stupid-phone, iPhone, etc).

After clicking go, the same page you were on will appear, it may somehow look different. Try clicking the video you want to download. A three icon bar will appear on the bottom right-hand side of the video (Look at figure 2 for reference purposes). Click the icon and boom, the magic shall happen. Your video will start downloading.

Figure 2


Forget that I called this magic. Just trying to make the end awesome and catchy. If this explanation didn't meet your satisfaction try watching the video below.


Video:


HERE'S YOUR CHANCE TO EARN MONEY ONLINE

  Earn PayPal, Visa, Airtime money doing surveys online. Payments are fast and reliable Join Mobiworkx and earn money completing surveys. Fo...